
Build Your LinkedIn Before You Have a Resume — A 7-Day Setup for Class 11–12 Students
Quick take
Build a Class 11–12 LinkedIn profile in 7 days with a better photo, headline, About section, posts, and connections that help with internships.
Explore this topic
Article body
Build Your LinkedIn Before You Have a Resume — A 7-Day Setup for Class 11–12 Students
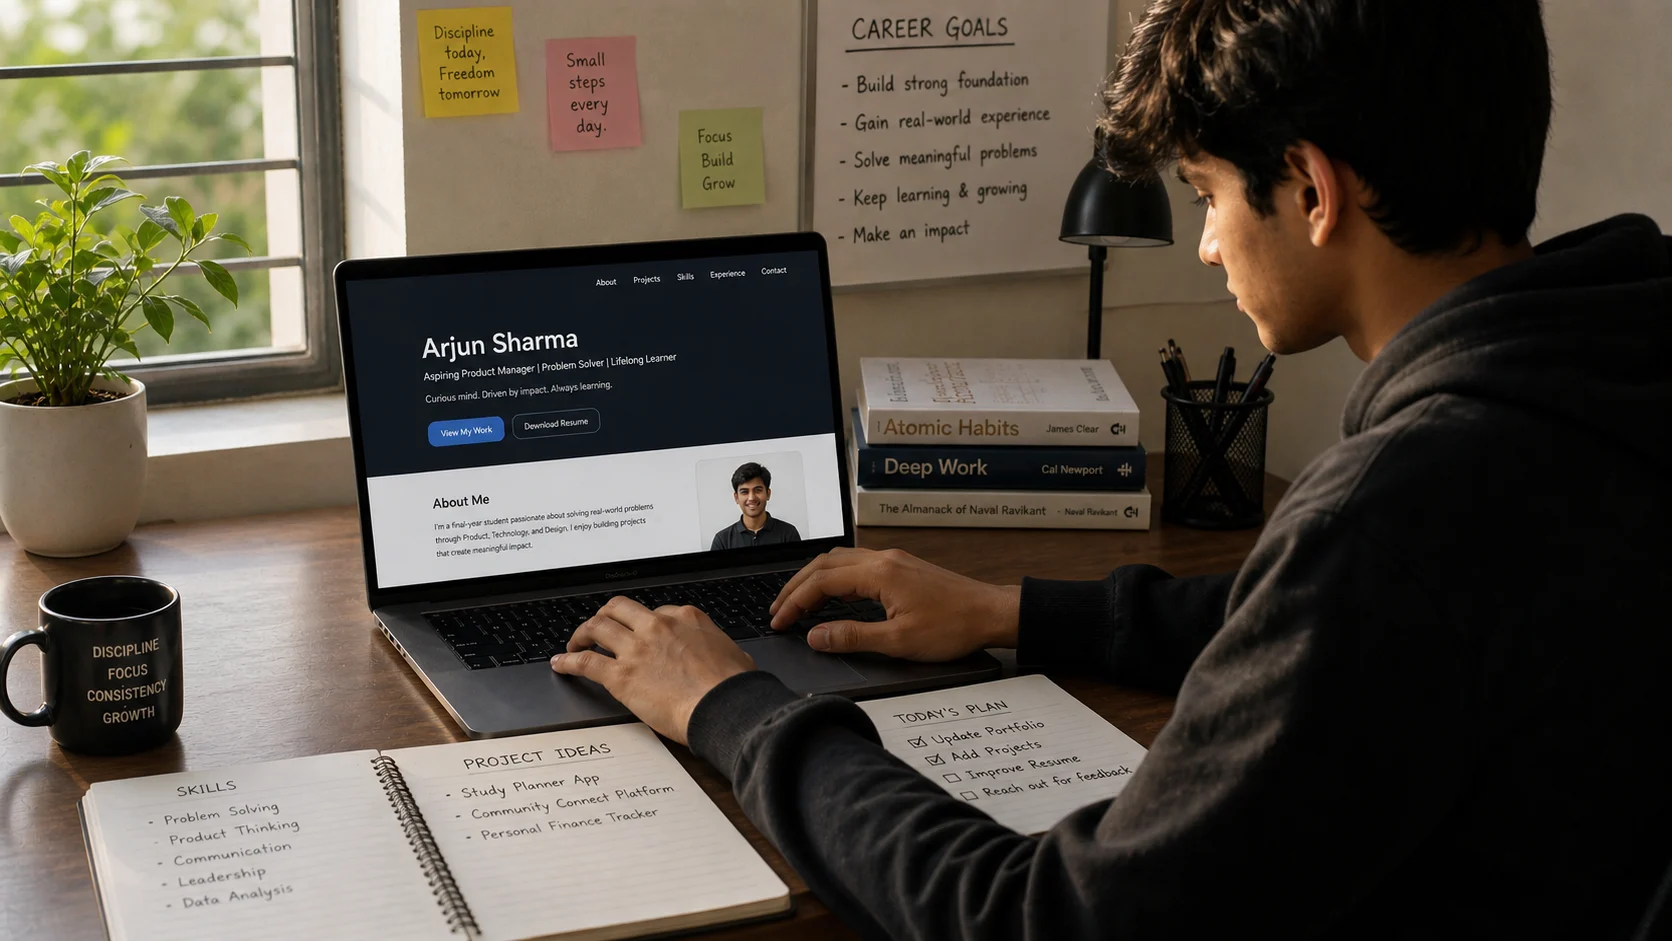
I built my LinkedIn the week before my first internship application. I know this because the desperation is visible in every section — a profile photo taken in bad lighting against a white wall, a headline that said "Student at [school name]" and nothing else, an About section that started with "I am a passionate and hardworking individual who..." I sent that profile to a design studio in Bengaluru. They didn't reply. I thought the internship wasn't right for me. Looking back, the profile was the problem.
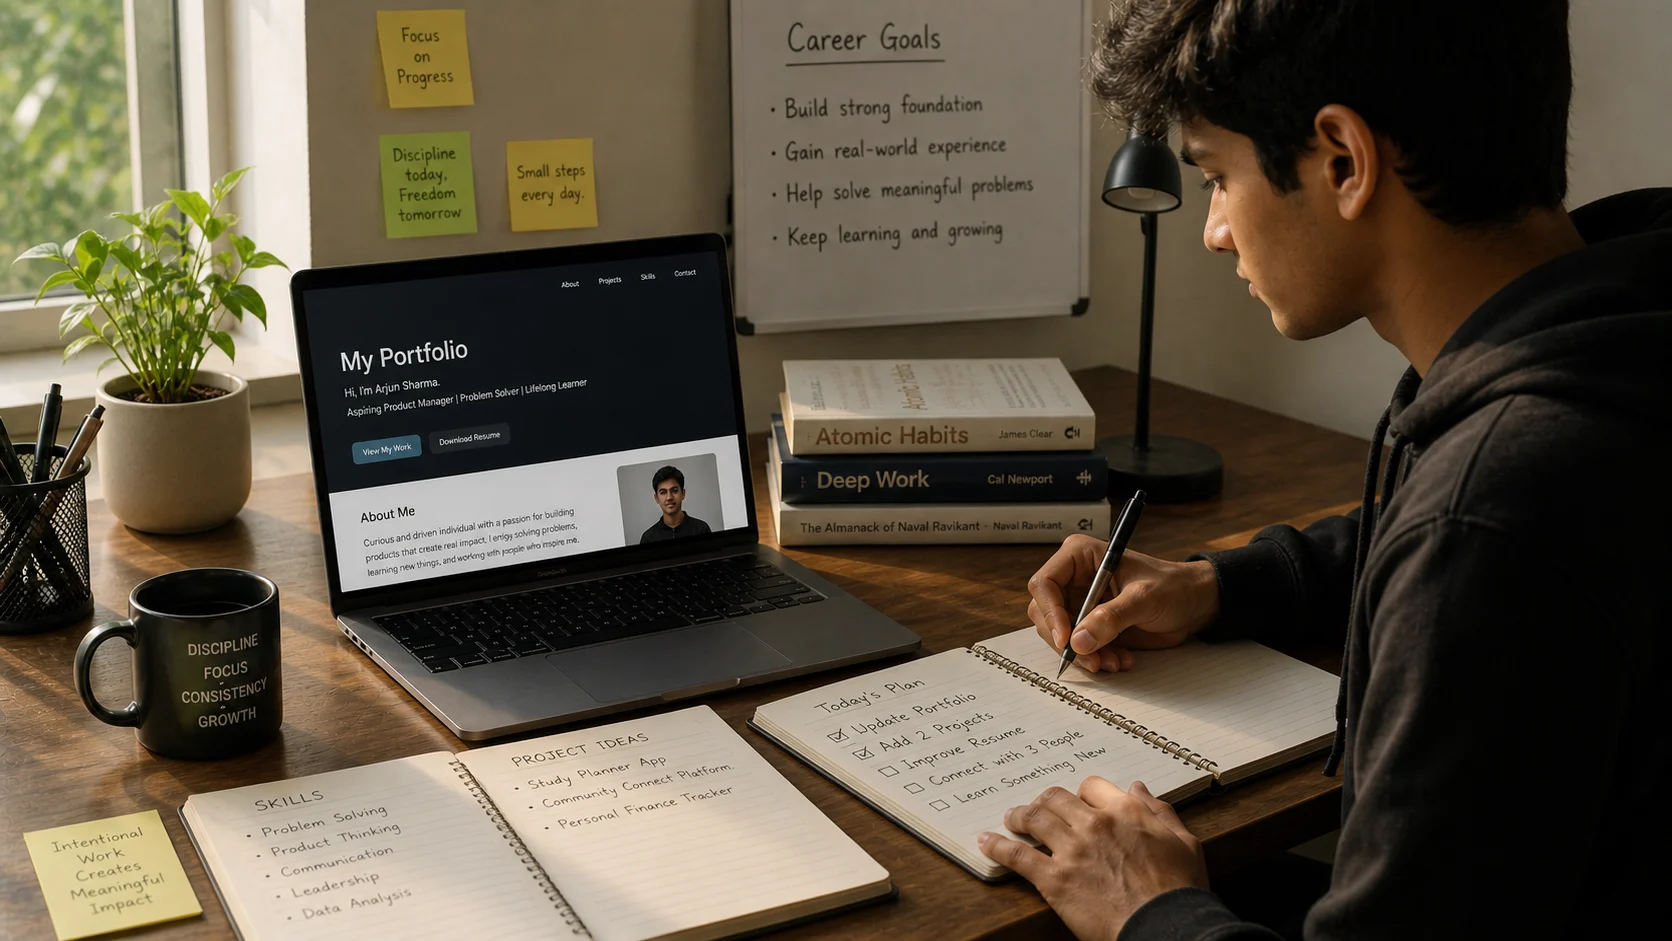
The teens who actually get responses from internship applications in Class 12 almost never built their profile the week before applying. They built it in Class 11, when there was no pressure, no deadline, and enough time to let it grow into something that looks deliberate rather than assembled in a panic. Seven days of focused setup now is worth three months of catching up later. Here's the exact plan.
A LinkedIn profile built slowly, without pressure, looks completely different from one assembled the night before a deadline.
Day 1: The Photo — The One Thing That Gets Clicked First
The profile photo is the first thing any recruiter or college admission contact looks at, and it does a job before a single word of your profile has been read. You don't need a studio photo. You need: natural light from a window coming from the side (not behind you), a plain or blurred background, a smile that looks like your actual face rather than a passport-photo expression, and a photo taken above shoulder height rather than at table level looking up.
Ask a family member or friend to take ten shots near a window on a slightly cloudy morning — overcast light is the most flattering. Pick the one where your eyes are clearest. Upload it. That's Day 1 done. The photo matters enough to spend a genuine fifteen minutes getting it right and not a minute more after that.
Day 2: The Headline — 120 Characters That Do Real Work
The default LinkedIn headline is your school and the word "Student." Every Class 11 student in India has this headline. It tells a recruiter nothing about who you are, what you're interested in, or why your profile deserves a second look.
Your headline should answer: what are you building or learning right now, and what are you interested in? It doesn't need to be impressive — it needs to be specific. "Aspiring UX Designer | Learning Figma | Class 12, Delhi" is a headline. "Student at XYZ School" is a placeholder. "Interested in finance and chess | Building a trading simulator in Python | Class 11" is a headline that makes someone curious. You can change it in thirty seconds at any point — the goal is to put something true and specific there today.
Day 3: The About Section — Write It Like a Human, Not a Cover Letter
The About section is where most students write things no human would ever say in conversation — "I am a dynamic individual with a passion for excellence and a commitment to continuous learning." Read that sentence aloud to yourself. You wouldn't say that to a person. Don't write it to a person either.
Write three paragraphs. The first: what you're currently doing and what you're genuinely interested in. The second: something you've built, started, or tried — even if it's small. A project, a challenge, a YouTube channel, a piece of code, a piece of writing. The third: what you're looking for — a summer internship, collaborators, mentors, connections in a specific field. End with your email so anyone who wants to reach you can, without having to send a connection request first.
Total length: 150 to 200 words. If it runs longer, cut until it doesn't. Short and honest beats long and vague every time.
Days 4 and 5: Experience, Education, and What to Put When You Have Nothing
You have more to put on a LinkedIn than you think. The categories just look different at 16 than they do at 26.
The most common mistake Class 11–12 students make is leaving the Experience section empty because they've never had a formal job. The Experience section is not only for formal jobs. It includes: positions in school clubs or student councils, any freelance or paid work (tutoring juniors counts — ₹200/hour tutoring three students per week is real income from a real skill), any content creation or community work, and personal projects you've completed. A personal project entry reads: Project Name → what it is → what you built or achieved → what you learned.
Education is straightforward — your school, your expected graduation year, your stream. Add any board-level recognitions, science fairs, olympiad results, or district-level anything. Put them in the Honors & Awards section rather than Education. Recruiters scan that section specifically because it separates candidates quickly.
Skills: add ten. LinkedIn allows endorsements, which come later — but the skills you list now shape which searches your profile appears in. For Class 11–12 students, include: the subject areas you're strongest in, any software you've used (Canva, Figma, Python, Excel, Premiere, whatever's true), and soft skills you can actually demonstrate (public speaking if you've done debate, research if you've done a project).
Days 6 and 7: Your First Three Posts and the Connections That Matter
Day 6 is your first post. Not an announcement that you've joined LinkedIn. Not a motivational quote from someone famous. A post about something you actually know, learned, or tried recently — written conversationally, the way you'd explain it to a smart friend. "I spent the last two weeks building a habit tracker app in Python. Here's the one thing that broke everything and how I fixed it." Three paragraphs. One image if you have one. Publish it. This post will be read by approximately twelve people, most of them connections you already know. That's fine. The post's job is to exist on your profile, not to go viral.
Day 7 is connections — but strategic ones, not mass-adding. Connect with three categories of people: classmates and school seniors whose work you respect (they'll grow into useful networks faster than strangers), teachers or mentors who know your actual work, and two or three people in a field you're interested in who post content you find genuinely useful. On that last category, don't send a blank connection request — send a short note: "I read your post on UX hiring in India and found it really useful. I'm a Class 12 student interested in design — would love to connect." Fifty words. Specific. Most people accept.
What makes an Indian Class 11–12 LinkedIn profile actually stand out in 2026:
Specificity over ambition — "Learning Figma and building my first app concept" is more credible than "Aspiring entrepreneur and future business leader." The former shows evidence. The latter shows hope.
One real project, described precisely — a Python script that does one thing, a Canva template you made and sold, a school newsletter you designed. One real thing beats five vague interests.
A post before you apply anywhere — recruiters look at post history. A profile with one thoughtful post from three months ago shows initiative. A profile with no posts and a headline of "Student" looks like it was built as a formality.
Updated consistently — add a new project, a new course completed, a new achievement every six to eight weeks. Profiles that visibly grow are profiles that people come back to.
Quick Tips
- Turn off "Notify your network" when editing — in LinkedIn settings, switch off activity broadcasts before your Day 1 setup. You don't want thirty notifications going out every time you update a field while building the profile.
- Custom URL on Day 1 — go to Edit Profile → Edit public profile and URL → change it to linkedin.com/in/yourname. The default URL is a string of numbers. The custom one goes on your resume and email signature.
- Add your school's LinkedIn page as your education — this connects you to your school's alumni network automatically, which includes people in every field you'll ever want to enter.
- Don't connect with people you've never interacted with just to grow the number — LinkedIn's algorithm rewards engagement, not size. 200 real connections who occasionally like your posts outperforms 2,000 strangers who never interact with anything.
- The Open to Work feature is for after college — don't turn it on in Class 11. Use the profile to build visibility and credibility now. The job-seeking signal comes later.
Open LinkedIn right now and upload a better photo than the one currently there.
That's all Day 1 asks. Tomorrow write a real headline. The day after, a real About section. By Day 7 you have a profile that looks like it was built by someone who knows what they're doing — because after seven days of this plan, that's exactly what you'll be.
The teens who get internship responses in Class 12 started building their LinkedIn in Class 11. You still have time to be that person.Comments 0
Keep reading
Similar blogs by topic

Study in Europe or Singapore for Less Than a Private Indian College — The Guide Nobody Showed You
A practical guide for Indian students comparing the real costs of studying in Germany, Norway, France, the Netherlands, and Singapore against private colleges in India.

Study in Europe After Class 12 — How Indian Teens Are Getting Bachelor's Degrees Abroad for Less Than a Private Engineering College
A practical guide for Indian Class 12 students exploring Europe, with tuition-free countries, admission steps, language tests, costs, and a realistic comparison with Indian private colleges.

The Indian Content Creator Economy in 2026 — Honest Income Brackets at Every Subscriber Count
No fluff, no dream-selling — real income brackets for Indian content creators at every subscriber count in 2026, covering AdSense, brand deals, courses, and where the actual money comes from.