
Edit Your Phone Photos Like a Pro in 7 Days - A Free Lightroom Mobile Crash Course
Quick take
Learn Lightroom Mobile in 7 days and turn phone photos into polished edits. Master exposure, colour, presets, and batch editing for free.
Explore this topic
Article body
Edit Your Phone Photos Like a Pro in 7 Days — A Free Lightroom Mobile Crash Course
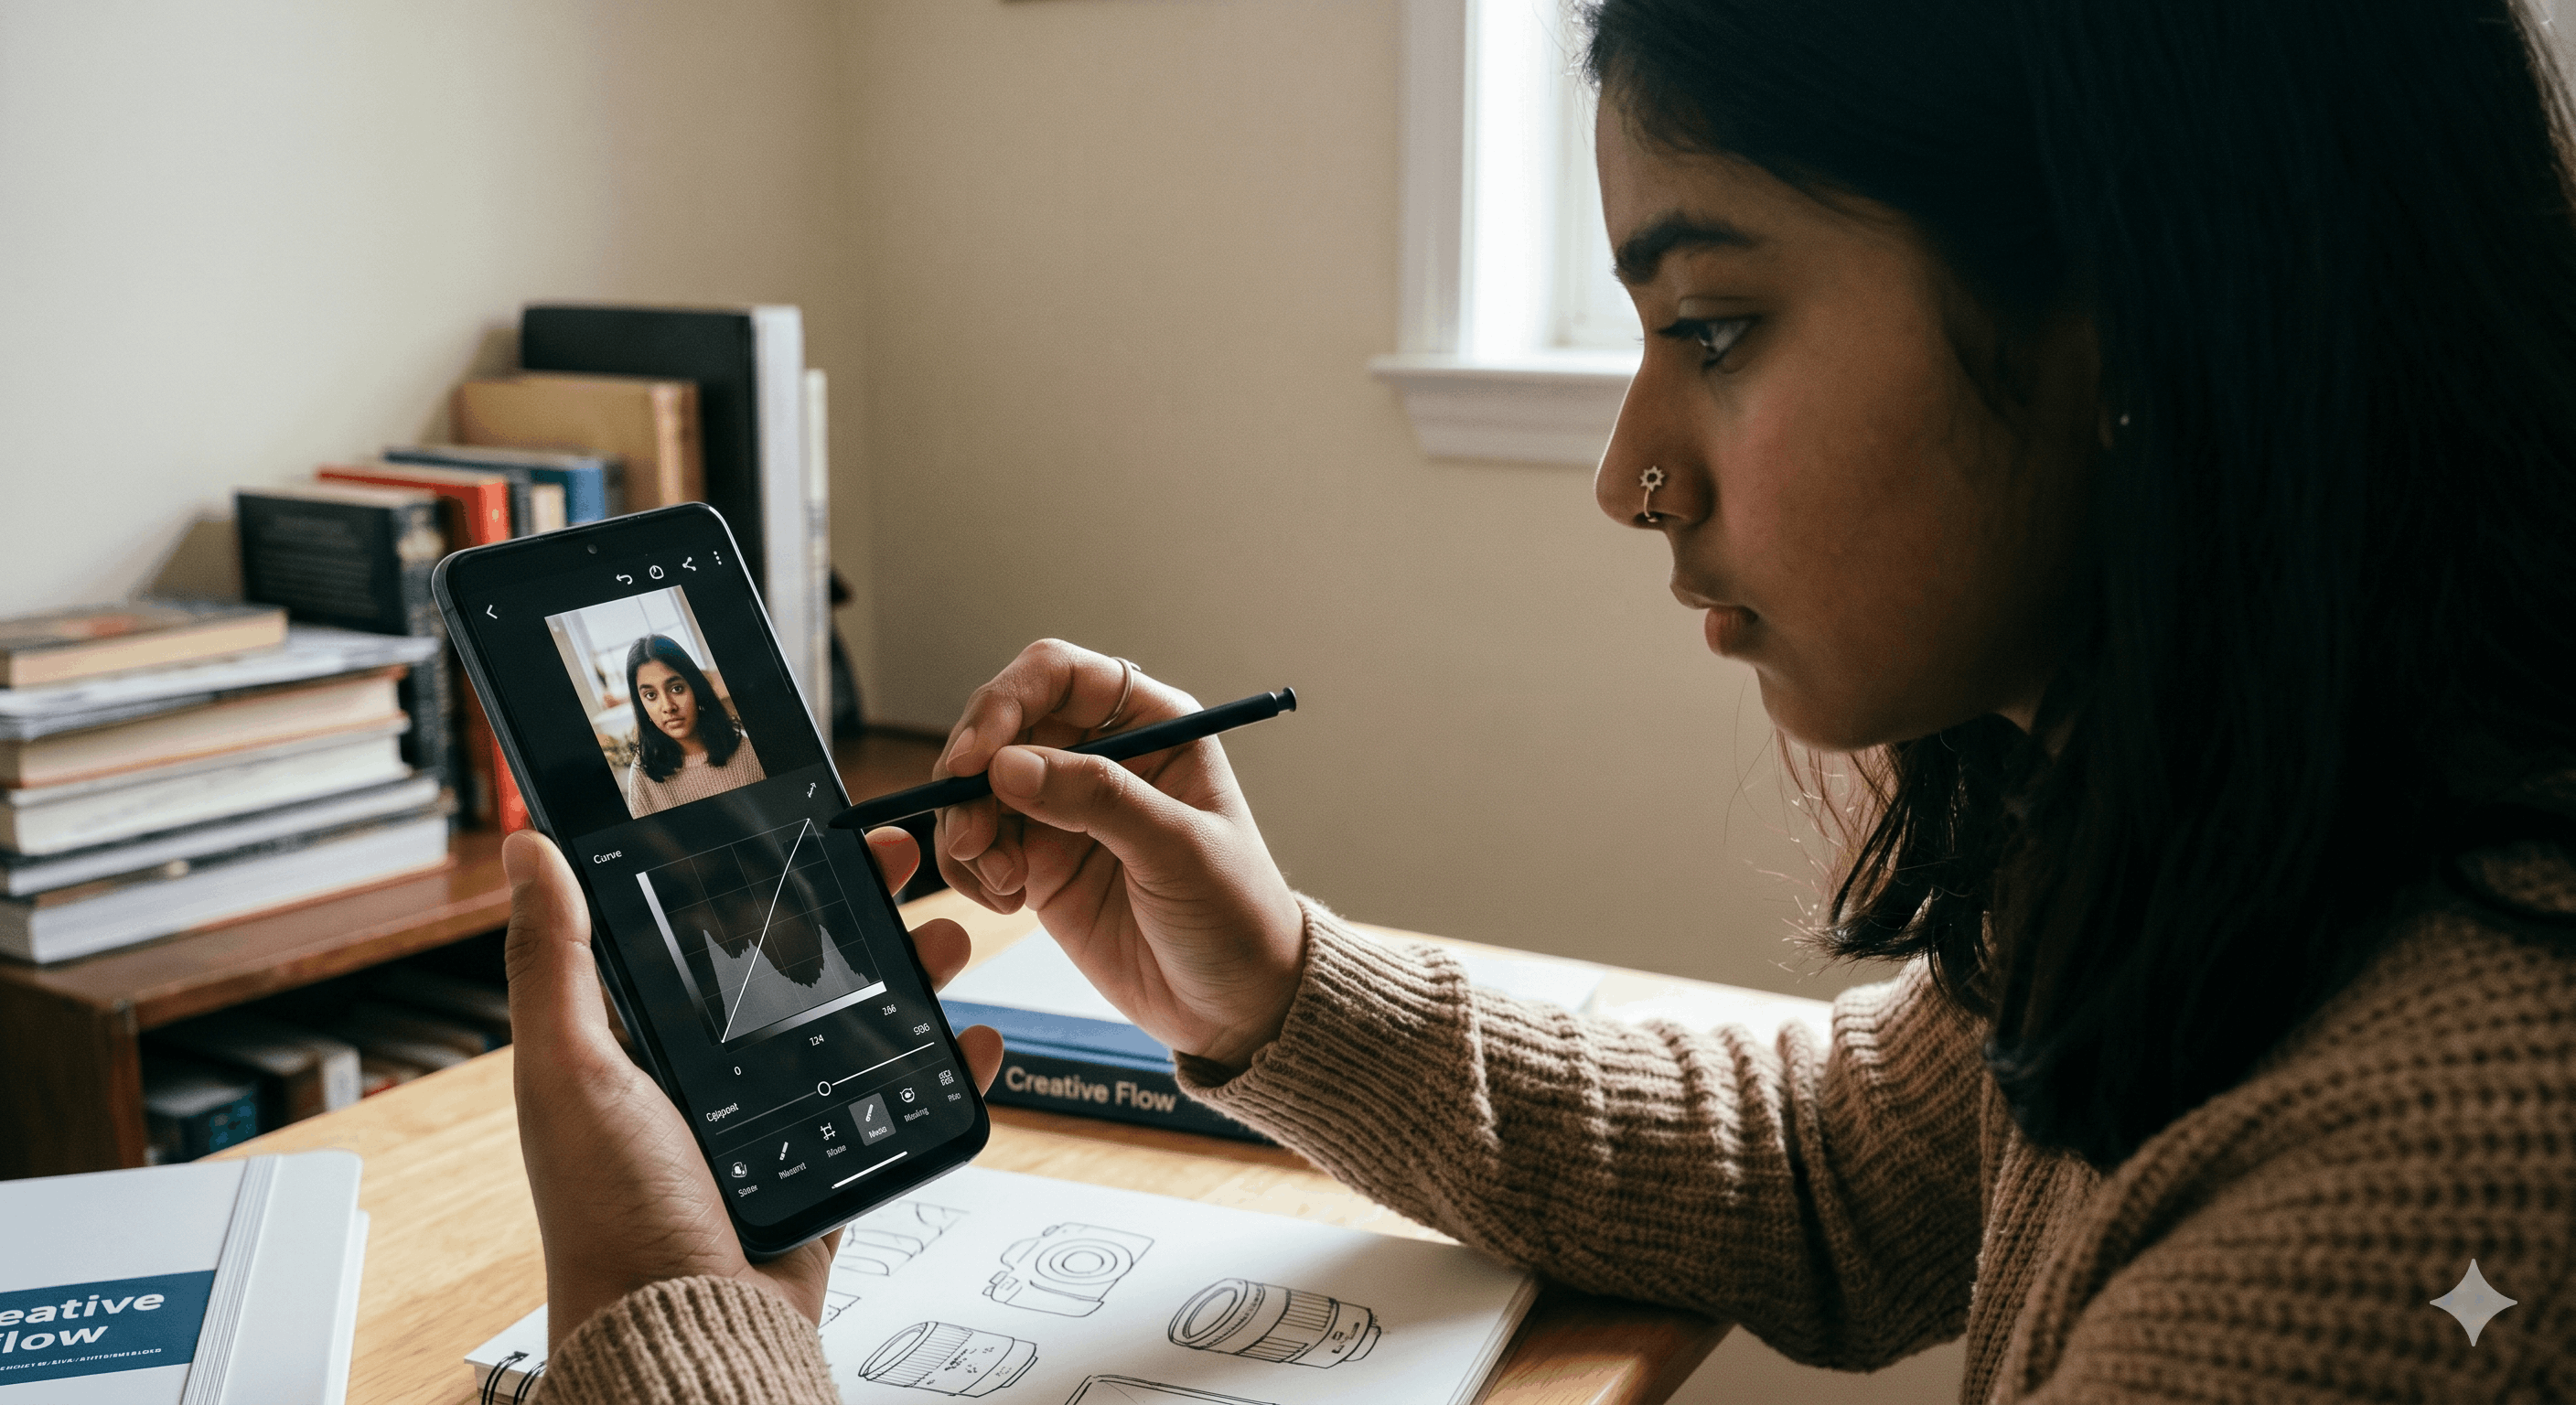
For a long time I thought editing photos was basically cheating. The photo either looked good or it didn't. If you had to fix it in an app, it meant you didn't take it well enough. Then a friend showed me the before and after of the same frame — same chai glass, same evening light, same Xiaomi phone — with three minutes in Lightroom Mobile. I didn't say anything for a full minute. The before looked like a photo. The after looked like it belonged in a magazine. Same moment. Completely different image.
Lightroom Mobile is free, runs on any Android or iPhone — Redmi, OnePlus, Samsung, iPhone SE, all of it — and is what professional photographers actually use on assignment, not just teens on Instagram. Seven days is enough time to go from not knowing what a histogram is to editing photos that consistently look intentional. Here's the plan.
Lightroom Mobile is free, works on any Android or iPhone, and is the same software professionals use.
Before Day 1: Download and Set Up (15 Minutes)
Search "Lightroom" on the Play Store or App Store. Download the Adobe Lightroom app — it's free, and the free version has everything you need for this plan. Sign in with a free Adobe account. On the first screen, tap the plus icon and import five photos from your camera roll. Pick photos with variety — one portrait, one outdoor scene, one food shot, one low-light photo, one bright daylight shot. These five are your practice set for the whole week.
Spend ten minutes just tapping every slider and watching what it does. Move it to the extreme left, then extreme right, then reset. Don't edit anything yet — just watch the image respond. You're building a mental map of the controls before you use any of them properly.
Days 1–2: Exposure and Contrast — The Foundation
Open your outdoor photo. Look at the Light panel — Exposure, Contrast, Highlights, Shadows, Whites, Blacks. These six sliders control the brightness of different parts of your image. Most beginners grab the Exposure slider and push it up when a photo looks dark. This is almost always wrong. Here's what actually works:
If your photo is too dark, push Shadows up first — this brightens only the dark areas while leaving the sky and highlights alone. If your photo looks washed out or flat, push Contrast up slightly — around +15 to +25, not +80. If the sky is blown out white, pull Highlights down — bring it to -30 or -40 and watch the sky's detail return. By Day 2, these three moves — Shadows up, Highlights down, Contrast up slightly — will fix 80% of the photos you'll ever take.
Days 3–4: Colour — Where Most People Make the Biggest Mistakes
Open the Color panel. You'll see Temperature (the blue-to-yellow slider) and Tint (green-to-pink). These two control the overall colour mood of your photo. Photos taken indoors under yellow light often look unnaturally warm — pull Temperature slightly left (cooler) and the skin tones immediately look more natural. Photos taken on overcast days look flat and slightly green — push Tint slightly toward pink (+5 to +10) and the colours come alive.
The HSL panel (Hue, Saturation, Luminance) is where you make precise colour adjustments. In Indian photos, the two most useful sliders are Orange Saturation and Orange Luminance — they control skin tone. Pull Orange Saturation down slightly if skin looks too orange or sunburnt. Push Orange Luminance up to brighten skin without touching the rest of the image. These two moves alone separate photos that look edited from photos that look corrected.
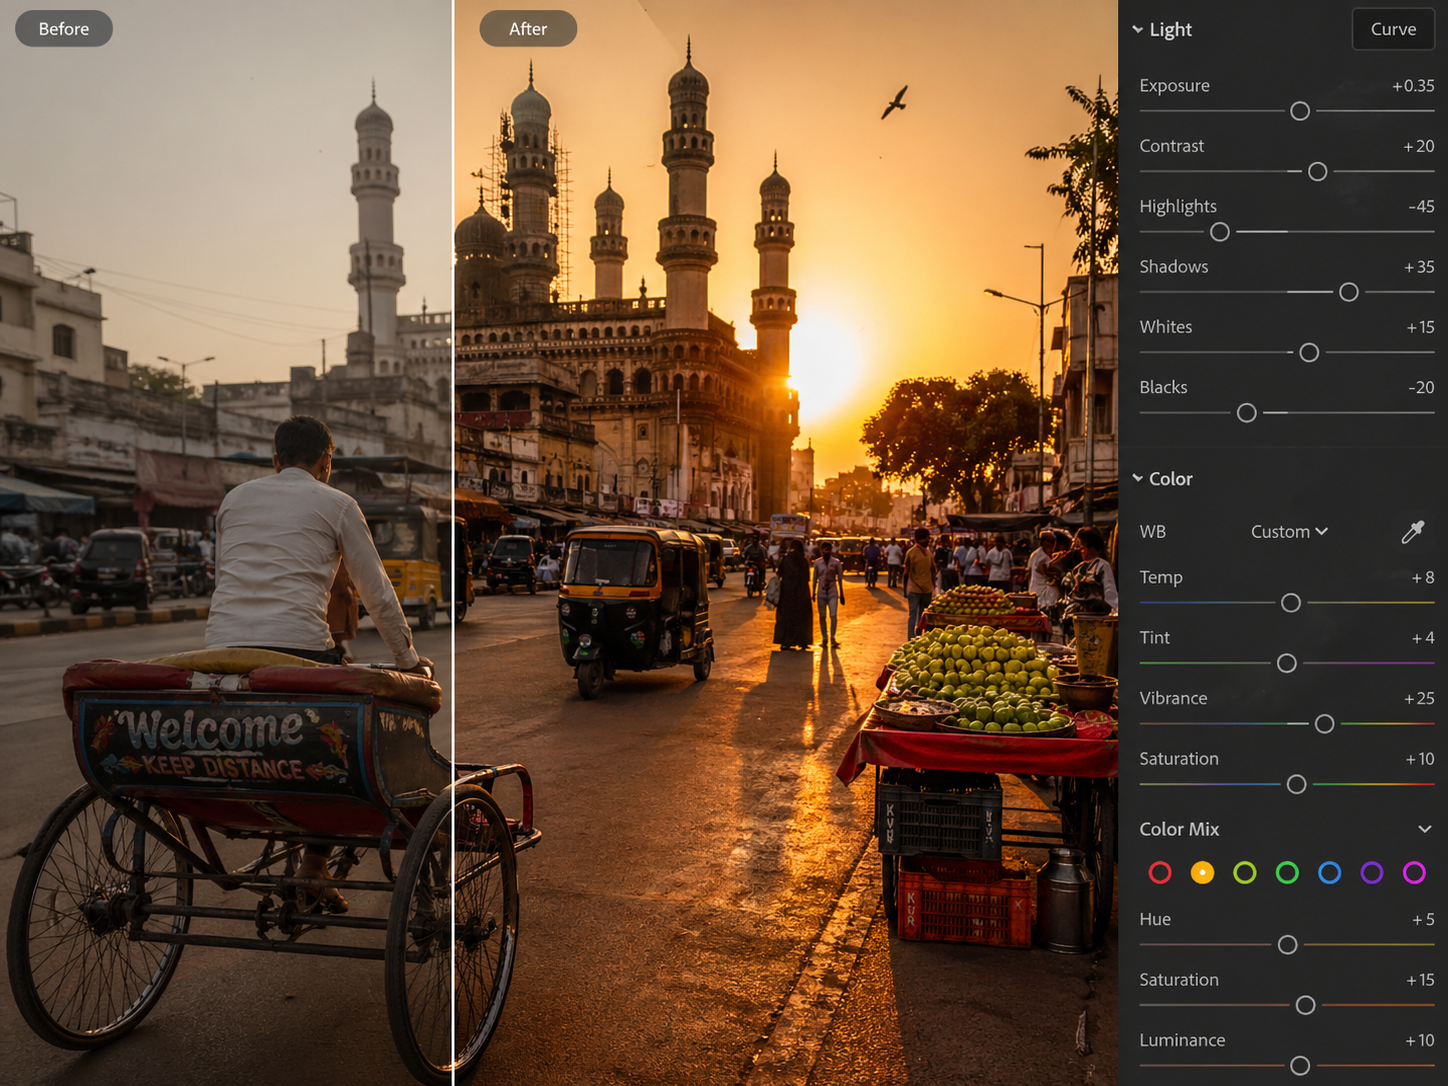
Golden hour light in Indian cities responds beautifully to Lightroom's colour tools — warm, vivid, and controllable.
Days 5–6: Make Your Own Preset
A preset is a saved set of edits that you apply to future photos in one tap. By Day 5 you've learned enough to recognise what you like — maybe you prefer slightly cooler tones and lifted shadows, or warm golden skin with slightly desaturated greens in the background. Whatever your style is, it's starting to emerge.
Edit one photo exactly the way you want it to look. When you're happy, tap the three dots in the top right corner of the editing panel, select Create Preset, and name it something useful — "My Outdoor," "My Portrait," "My Food." From now on, any new photo gets this preset applied in one tap, then small adjustments for that specific image. This is exactly how professional photographers work — one base style, fine-tuned per shot.
The four things beginners consistently do wrong in Lightroom:
Over-saturation — pushing Vibrance or Saturation above +40. Colours start looking like a cartoon. The sweet spot for most photos is +10 to +25.
Sharpening everything — the Detail panel's Sharpening slider looks harmless. Above +60 it adds visible noise, especially in low-light photos. Stay below +40.
Green-orange skin — happens when you push Hue sliders too far. If someone's face starts looking like a sunset, undo immediately and start the colour section again from scratch.
Copying someone else's preset and calling it done — downloaded presets are starting points, not endings. Every photo needs at minimum an Exposure and White Balance adjustment after applying any preset. Presets made for bright California sunlight will wreck an overcast Delhi morning without correction.
Day 7: Edit Five Photos and Build Your Portfolio
The final day is your showcase day. Take the five practice photos you imported on setup day and edit each one using everything you've learned — Light, Colour, your preset, fine-tuned. Then pick five new photos from your camera roll — your best ones — and edit those too. You now have ten edited photos that look consistent with each other.
Export them at full resolution (tap the share icon, choose Export, select Maximum quality). Put them in a dedicated album called "Edited — Lightroom." Post the best three to Instagram. Compare them to what you were posting a week ago. The difference is the point.
Quick Tips
- Edit on a bright screen in a dimly lit room — judging colour on a phone screen in direct sunlight is unreliable. Your indoor edits look different in sunlight. Check both.
- Sync your edits across multiple photos — edit one, then tap the three dots and select "Copy Settings," select all the adjustments you want, then tap the other photos and select "Paste Settings." Batch editing saves hours.
- The histogram is your truth-teller — if the graph is squashed to the left, the photo is underexposed. Squashed to the right, overexposed. Aim for a gentle mountain shape in the middle.
- Save the original always — Lightroom edits non-destructively, meaning your original photo is always preserved. You can always reset to zero and start again.
- Less editing for portraits, more for landscapes — faces are familiar enough that over-editing is immediately noticeable. Landscapes tolerate more dramatic adjustments before looking unnatural.
Download Lightroom Mobile, import five photos, and move every slider once.
That's all Day 1 asks. By Day 4 you'll have a set of colour adjustments that look like your style. By Day 7 you have your first preset and ten photos that look like they were shot by someone who knows what they're doing. Your phone camera hasn't changed. Your eye has.
The gap between a good photo and a great photo is almost always in the edit — and the edit is free.Comments 0
Keep reading
Similar blogs by topic

I Scored 94%. Then Someone Asked What I'd Actually Made.
Fifteen years of school and I couldn't point at one thing I'd built. Here's why marks stop being information once everyone has them — and how to have real proof of work by next month.

ChatGPT Made Up a Book for My Project. I Almost Submitted It.
It invented the author, the publisher, even the page numbers. Here's what actually goes on inside these things — LLMs, hallucination, RAG, MCP, agents — explained the way someone should've explained it to me before I nearly failed history.

I Thought My English Was Fine Until I Sat a Full IELTS Mock Test
IELTS isn't an English test the way school taught you English — it's a test of doing specific things under a clock. Here's the format, the real costs, and an 8-week plan that actually works for Indian teens.